Adding a domain
This guide walks through onboarding a new domain in MXroute Manager: domain verification, MXroute registration, and mail DNS at Cloudflare. The flow uses the Add a New Domain wizard on the Domains tab.
To fix DNS, manage routing, set up webmail, or delete an existing domain, use that domain's Actions menu in the Active Domains table (see Managing existing domains).
Screenshots in this guide come from a live setup of actualrealwebsite.com. Your domain name and record values will differ, but the steps are the same.
Before you start
| Requirement | Why |
|---|---|
| MXroute API configured | Settings or .env (MX_SERVER, MX_USER, MX_API_KEY). See Configuration. |
| Domain in your MXroute account quota | Registration happens through the wizard, not the MXroute panel. |
| Cloudflare (recommended) | The wizard deploys and updates DNS records automatically. Set CF_API_TOKEN and CF_ACCOUNT_ID in Settings or .env. |
| Domain zone in Cloudflare | The domain's nameservers must already point to Cloudflare so the app can manage its DNS. |
You need admin access. Delegated users cannot register new domains or use this wizard (they can still fix DNS on domains they are granted via the Actions menu).
Overview
The wizard is a linear four-step flow for new domains:
- Choose Domain - enter the new domain name (nameservers must already be on Cloudflare).
- Verify Domain - the verification TXT record is pulled from MXroute and deployed to Cloudflare automatically.
- MXroute Registration - register the domain so DKIM and mail records become available.
- Mail DNS & Webmail - deploy MX, SPF, DKIM, DMARC (and optionally
webmail.<domain>); the checklist auto-refreshes until everything is live.
Mail records (MX, SPF, DKIM, DMARC) only exist after Step 3, which is why registration comes before mail DNS.
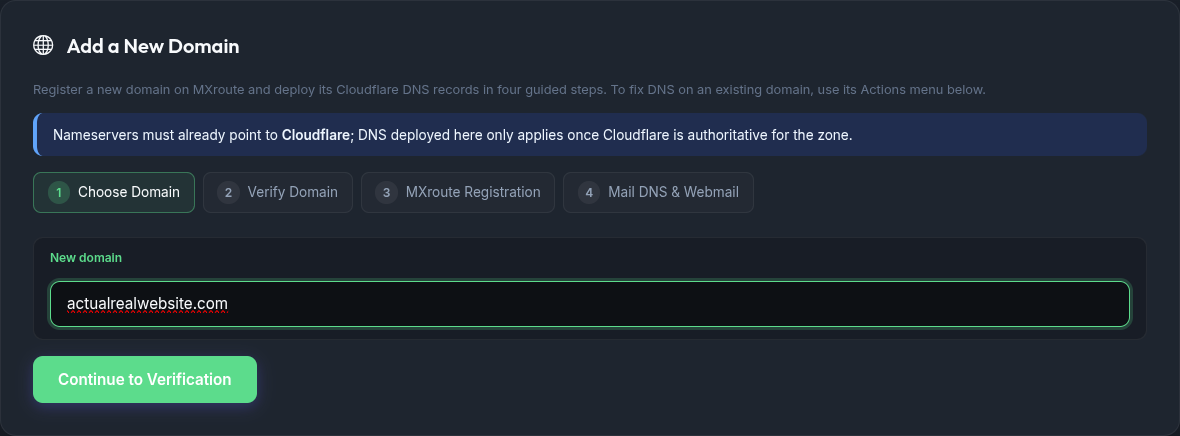
Step 1: Choose your domain
- Open Domains in the sidebar.
- In Add a New Domain, confirm the domain's nameservers already point to Cloudflare.
- Enter the domain name (for example
actualrealwebsite.com). - Click Continue to Verification.
Step 2: Verify the domain
MXroute needs a verification TXT record before it will accept registration. On entering Step 2 the wizard fetches that record and deploys it to Cloudflare automatically (when Cloudflare is configured).
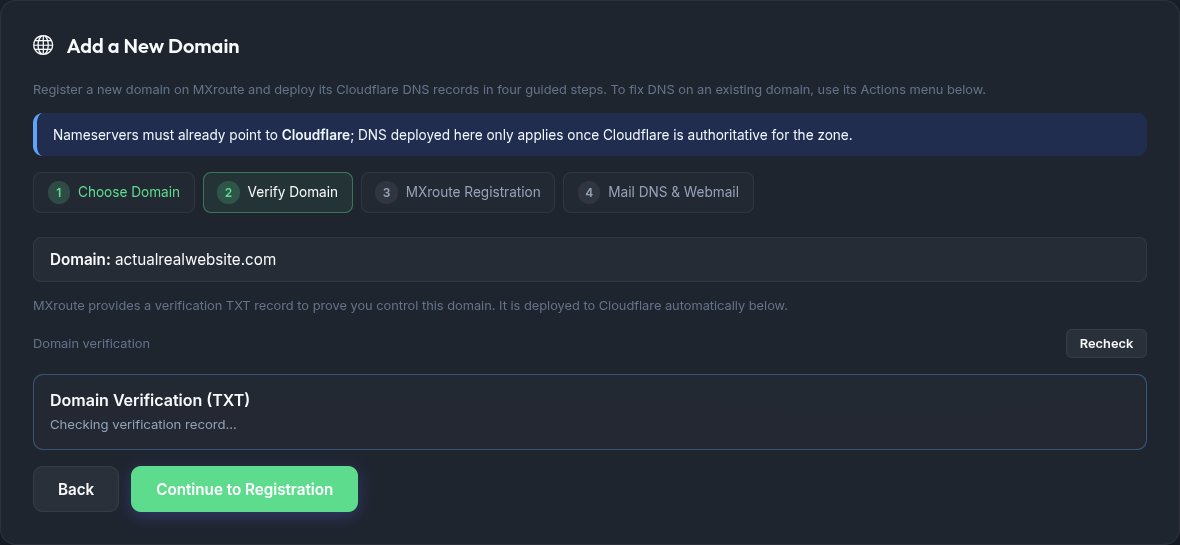
- Watch the Domain Verification (TXT) check. If it isn't deployed yet, click Deploy verification TXT.
- Click Recheck to refresh after DNS propagates (public DNS can take a minute).
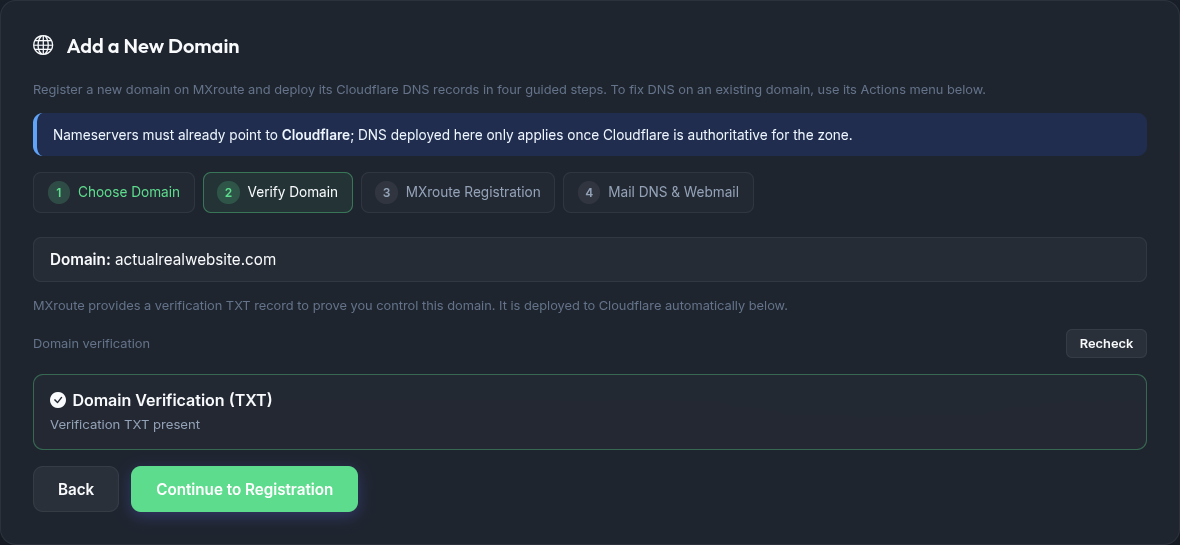
When you're ready, click Continue to Registration to open Step 3. (You can continue even while public DNS is still propagating.)
Step 3: Register on MXroute
Step 3 registers the domain with MXroute and generates per-domain mail settings (including DKIM).
- Confirm the domain banner matches the domain you entered.
- Click Register Domain on MXroute.
- Wait for the success state. If registration fails, return to Step 2 and confirm the verification TXT is present in public DNS.
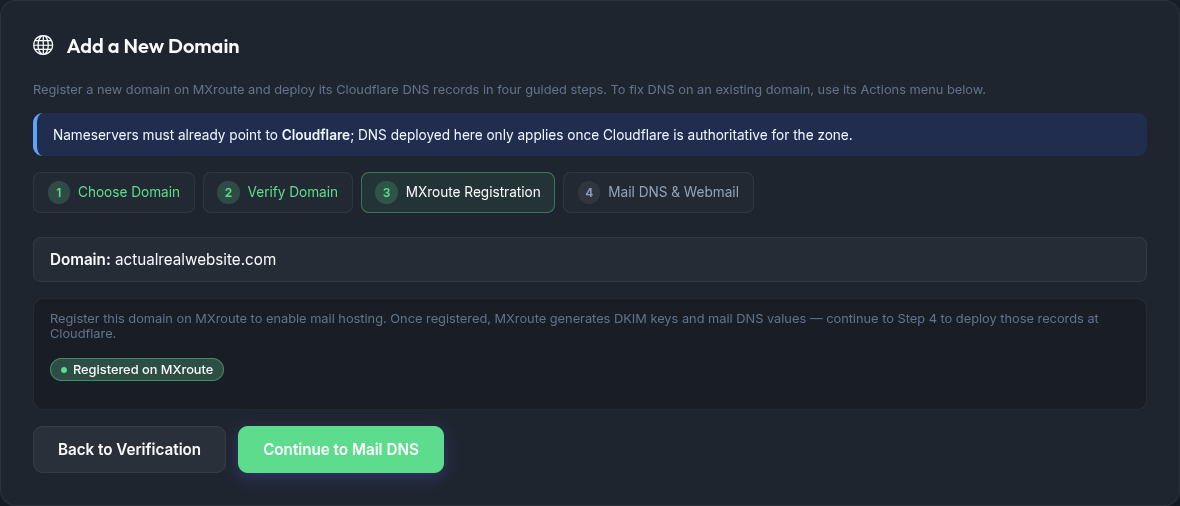

After success, click Continue to Mail DNS to open Step 4.
Step 4: Mail DNS & Webmail
Once the domain is registered, Step 4 shows the mail DNS checklist with expected values from MXroute.

- Leave Also create
webmail.<domain>checked to publish awebmail.<domain>CNAME pointing to your MXroute mail server (DNS-only / unproxied). Uncheck it if you don't want webmail DNS. - (Optional) Expand Advanced DMARC if this domain needs a different
_dmarcpolicy than the globalDMARC_RECORDin.env. See DNS health checks. - Click Deploy All Records. Review Setup Progress as each record is created or skipped if already correct.
- The checklist auto-refreshes every ~15 seconds until all records are live (or for a few minutes). You can also click Recheck manually.
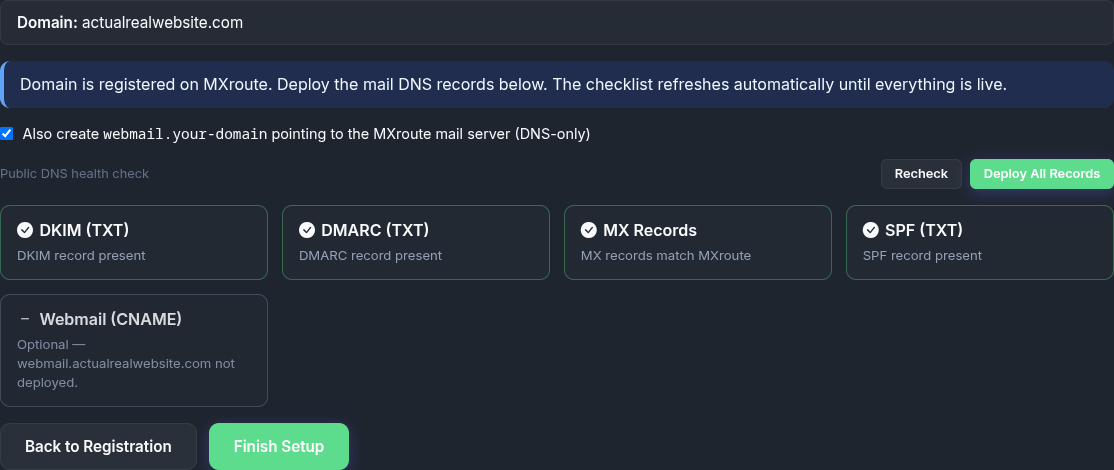
The wizard is idempotent: re-running deploys is safe. Existing correct records are skipped.
When everything looks good, click Finish Setup.
Managing existing domains
The Active Domains card lists every domain on the account. Use the search box and pagination (5/10/20 rows) when you manage many zones. Admins also get Fix unhealthy DNS to repair all domains that fail the public DNS checklist in one action (webmail CNAME not included).
Each row has an Actions menu (the ⋮ button) for ongoing management:
| Action | Who | What it does |
|---|---|---|
| Edit DMARC policy | admin or dns delegate |
Store an optional per-domain DMARC TXT for health checks and deploys. See DNS health checks. |
| Fix DNS entries | admin or dns delegate |
One-click deploy of any missing/incorrect mail or verification records in Cloudflare. Appears only when DNS needs attention. |
| Open webmail / Set up webmail | anyone / admin or dns delegate |
Opens https://webmail.<domain> in a new tab if it's live; otherwise deploys the webmail.<domain> CNAME. |
| Disable Routing / Enable Routing | admin | Toggles MXroute mail hosting for the domain. |
| Delete | admin | Permanently deletes the domain and its mailboxes (with a typed confirmation). |
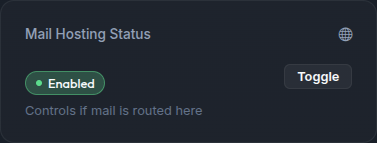
Enabling mail hosting
Mail routing is usually on after registration. If it isn't, use Enable Routing in the domain's Actions menu, or the Mail Hosting Status toggle on the Dashboard for that domain.
Quick reference
| Step | What you do | What success looks like |
|---|---|---|
| 1 | Enter the new domain, continue | Wizard opens Step 2 |
| 2 | Verification TXT deployed | Domain Verification check passes |
| 3 | Register Domain on MXroute | Success message on Step 3 |
| 4 | Deploy All Records (+ webmail) | MX, SPF, DKIM, DMARC all healthy; checklist auto-refreshes |
Troubleshooting
| Problem | What to try |
|---|---|
| Wizard not visible | Adding a new domain is admin-only. Delegated users manage DNS through the Actions menu instead. |
| Verification or DNS deploy greyed out | Set Cloudflare API token and account ID in Settings. Confirm the zone exists in that Cloudflare account. |
| Verification TXT deployed but Recheck still fails | DNS propagation delay. Wait a few minutes and Recheck again. |
| Register Domain on MXroute fails | Return to Step 2 and confirm the verification TXT is present in public DNS. |
| DKIM or mail records empty before Step 3 | Expected. Complete registration first, then continue to Step 4. |
| Set up webmail doesn't appear | Webmail uses MX_SERVER as the CNAME target and requires Cloudflare configured. Confirm both are set. |
| SPF/DMARC warn but records look correct | Health rules may differ from exact string match (extended SPF, custom DMARC). See DNS health checks. |
| Domain registered but mail does not flow | Use Enable Routing in the Actions menu (or the Dashboard toggle). |
What to do next
| Goal | Guide |
|---|---|
| Create mailboxes | Email Accounts tab (search + pagination on large lists) |
| Script mailbox or DNS changes | HTTP API |
| Branded password reset portal | Password reset - Branded portals |
| Delegate access to a domain | Access control |
| Environment and API keys | Configuration |
Related guides
| Guide | Topic |
|---|---|
| Getting started | First install and login |
| Configuration | Cloudflare and MXroute settings |
| DNS health checks | SPF, DMARC, and checklist behaviour |
| Password reset | Reset portal and mailbox recovery |
| Access control | Delegated users |